Первое в мире ПЕЧНОЕ и СТРОИТЕЛЬНОЕ мобильное |

MASONRY
"Masonry DNAS" has two sections: "Heat Stoves" and "Calculation Tools".
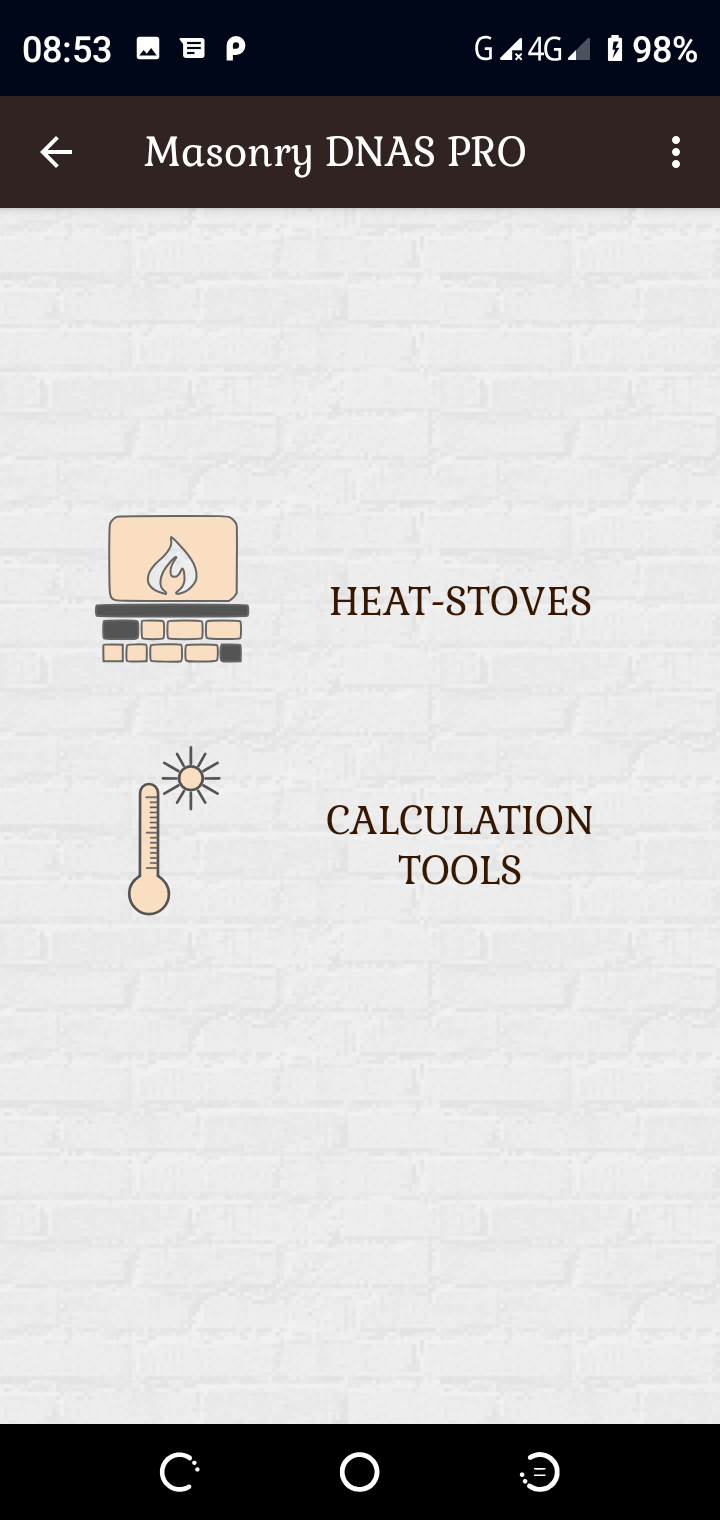
To create a heating stove project, we enter the section "Heat Stoves".
Here it is proposed to choose the method of selection of the project.
There are options "fit to room", "fixed perimeter" and "fixed sides".
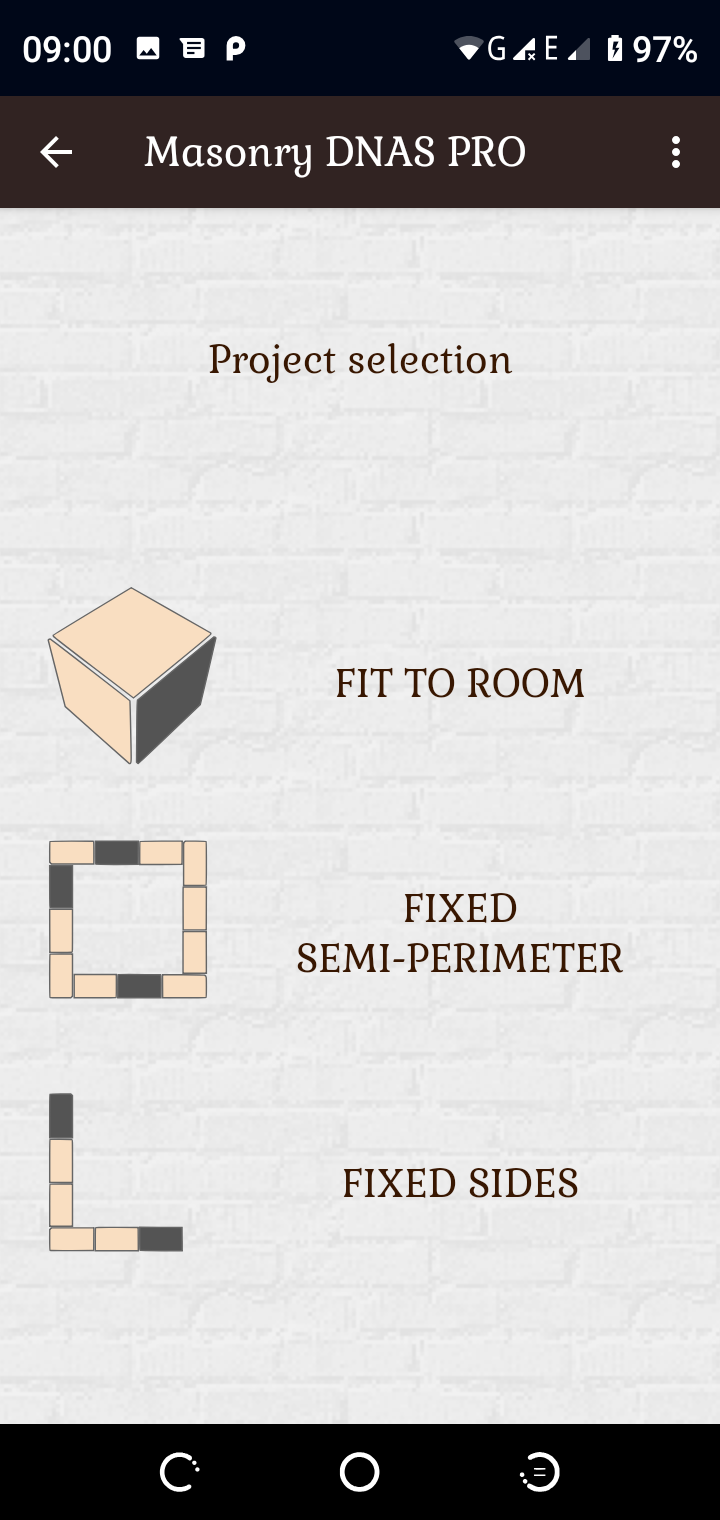
In the first case, ("fit the room"), in the insulation of the room, we move the slider to the position corresponding to the insulation of your room, for example, 50 W \ m2.
If you do not know the exact value in W \ m2, then use schematic concepts that pop-up in the form of tooltips, for example, "good", "very good", etc.
- As practice shows, in most cases such accuracy is enough.

Next, the program will determine:
1. The perimeter of the furnace on the basis of the heat loss of the room
2. The optimal aspect ratio
3. The optimal internal layout.
4. The number of contours.
In the second case, ("fixed perimeter"), the program only calculates 2, 3 and 4 items.
In the third case, ("fixed sides"), when the sizes of the parties are fixed, the program will work out paragraph 3 and 4. In order to allow program optimization of the layout (for all three cases!), make sure that you choose «CS optim, door center \ right" or "CS optim, door center \ left" in the settings of the program in the column "Selecting of the Convective system and the Position of the Firebox Door".

This value is used by the default in the preliminary settings, but if you ever change these settings, (like any other settings), then the program will take your choice and apply it for all projects and all selection methods in the future.
If there is a different layout with the fixation of the inner cut (there are 25 options), the planning optimization will not occur, and in the project is implemented by the choice of the option, if such, of course, option is possible in principle.
If this option is technically not implemented, then the option of the internal plan with the direct-flow furnace and the standard position of the pipe (from the rear in the center) will be choose. Also, make sure that in the column "to complete the secondary contours by calculation" there is a tick in the settings.

This choice will not affect anything for small power stoves and the standard selection of bricks.
But in other cases, the program itself will take into account the need to increase the external or inner layer of bricks, adjusting the secondary contours.
Pressing the "Results" button will provide information on all preliminary calculations of the project.
For example, the inscription "Heat transfer 1.3kW / contours 1 external + 1 internal / LU_T01 / stove dimensions 1030x640" will appear.
These results mean that the project will be performed by a molding of one outer and one inner wall.

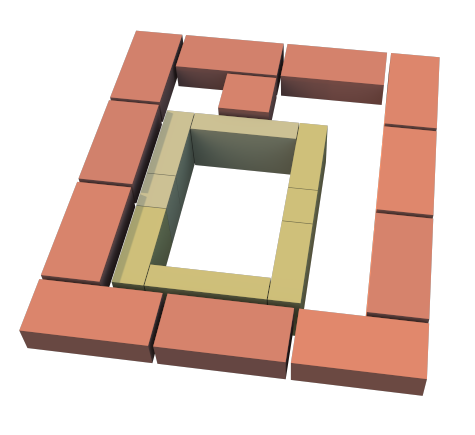
The inscription LU_T01 - corresponds to the layout with the channels to the left, stalled, the location of the pipe on the back of the right - T01.
The project itself is created by clicking on the "Project" button. The project is interactive.
There are the fields at the top of the project "<", ">« that move position through the chapters ("project", "detailing", "views-cuts " and "layers").
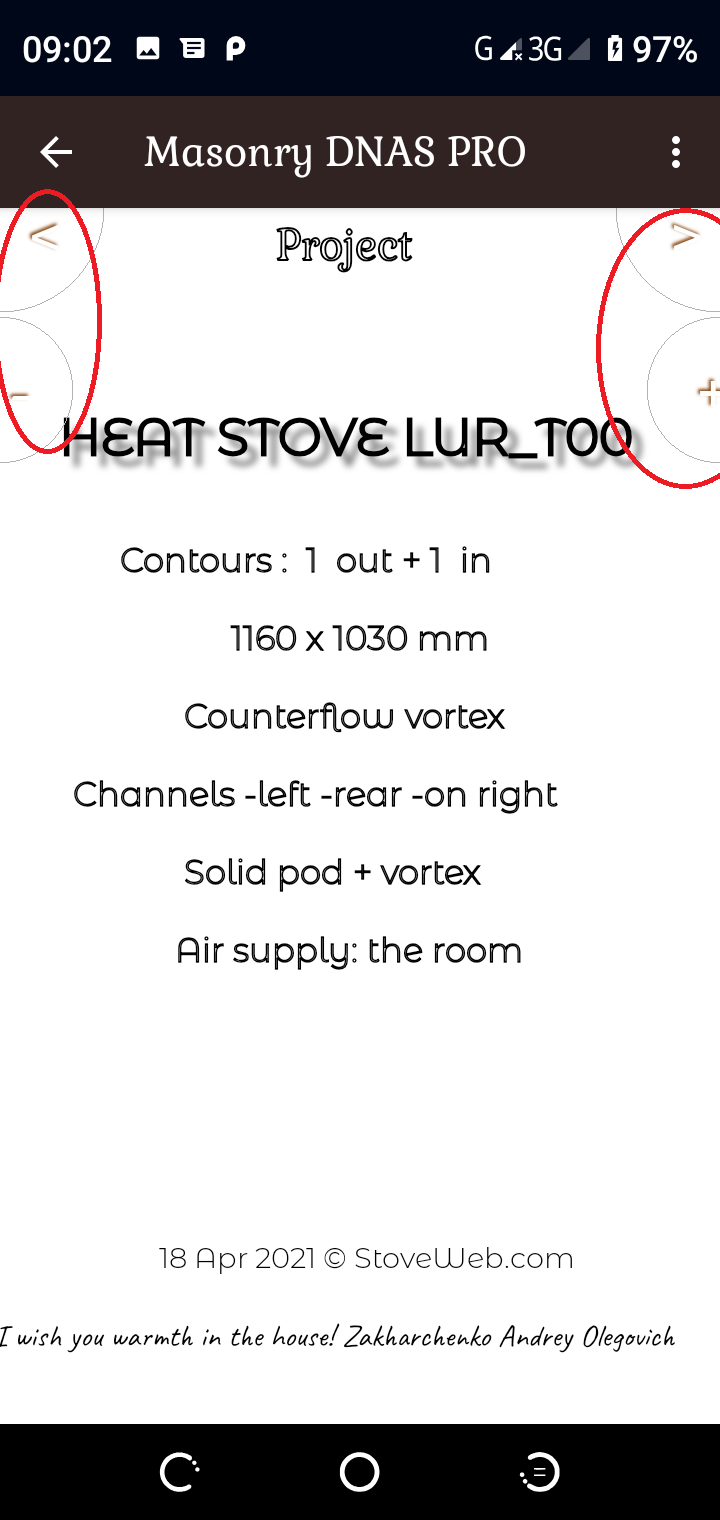
You can move with the "-", "+" buttons Inside the chapter. So, in the chapter "Project" there is the "Title" page and the page "Content (interactive)", which presents an interactive map of the project.
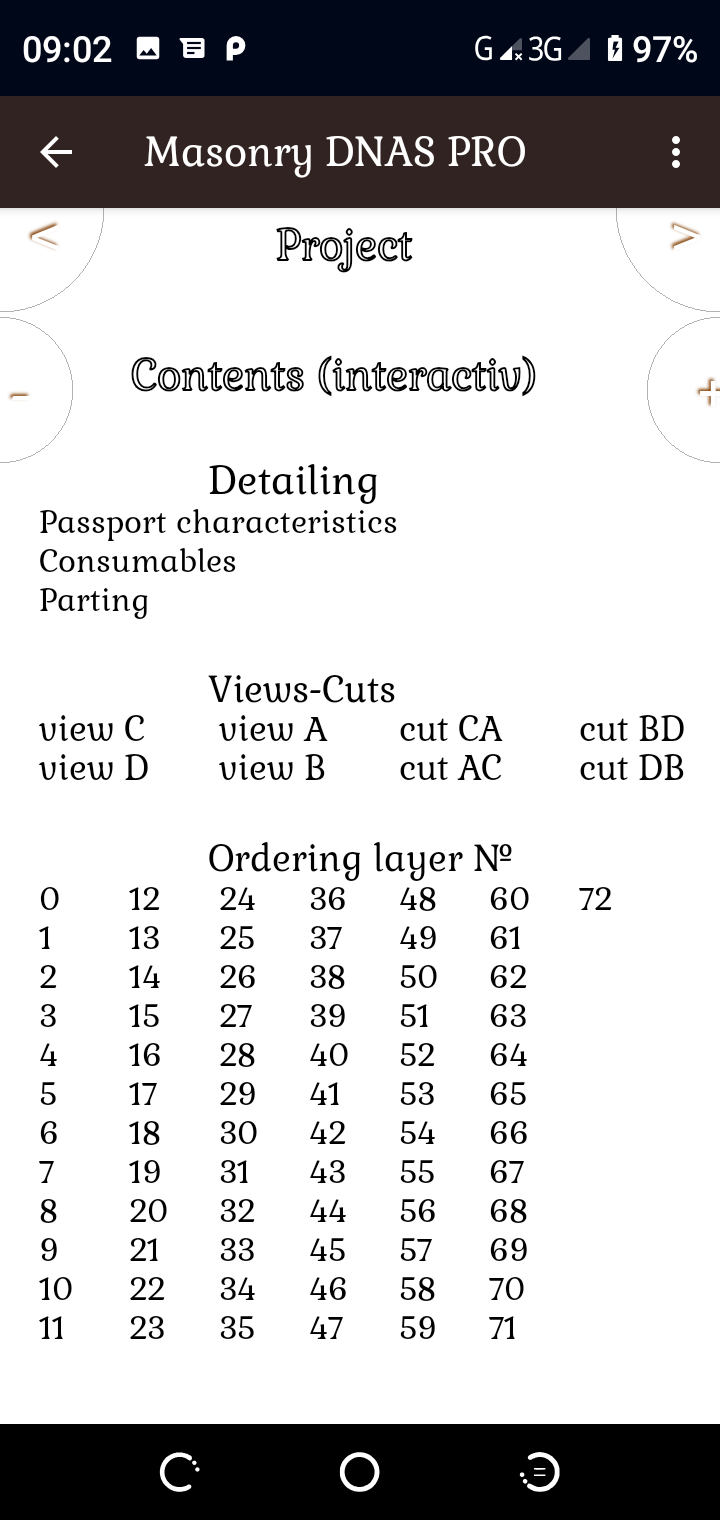
In the chapter "Detailing" there are pages "Passport characteristics",
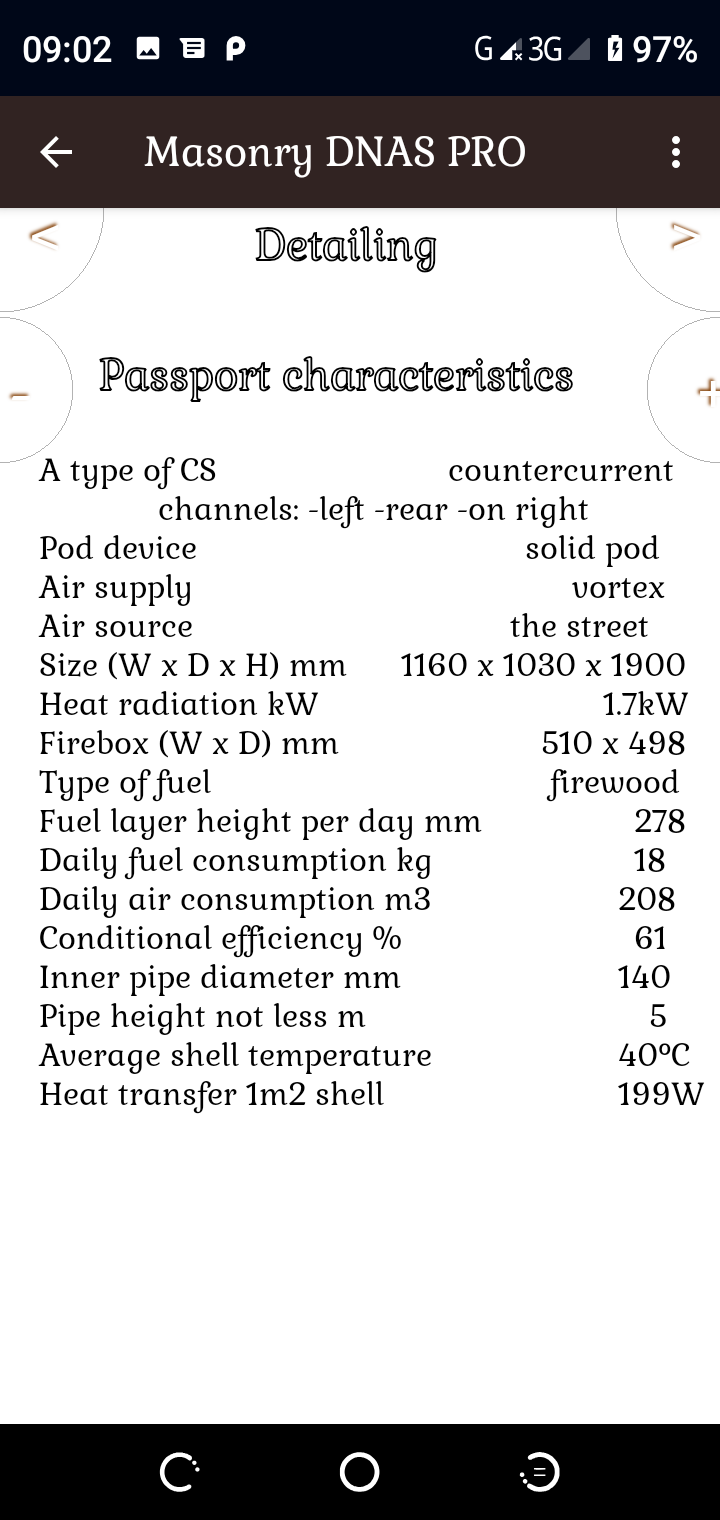
"Consumables",
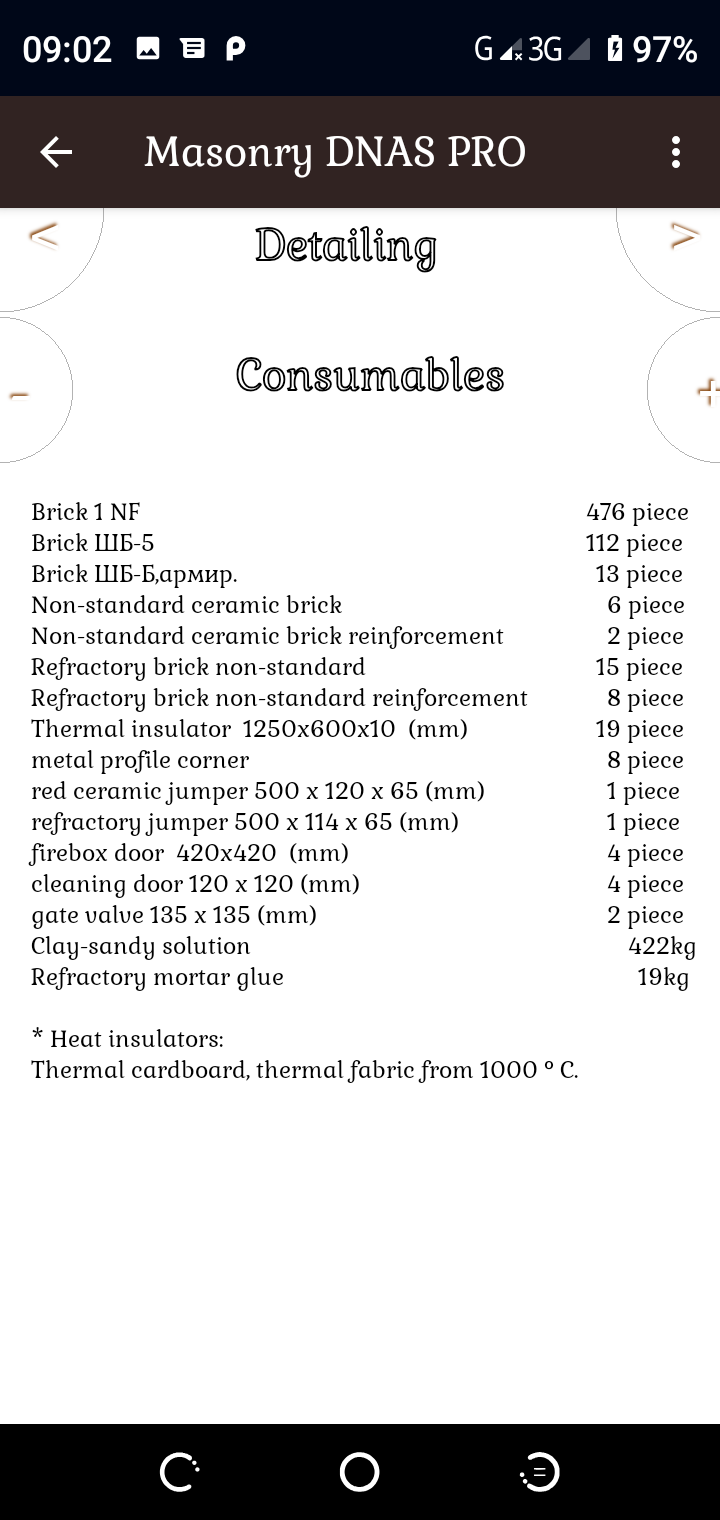
and many pages "Masonry elements".
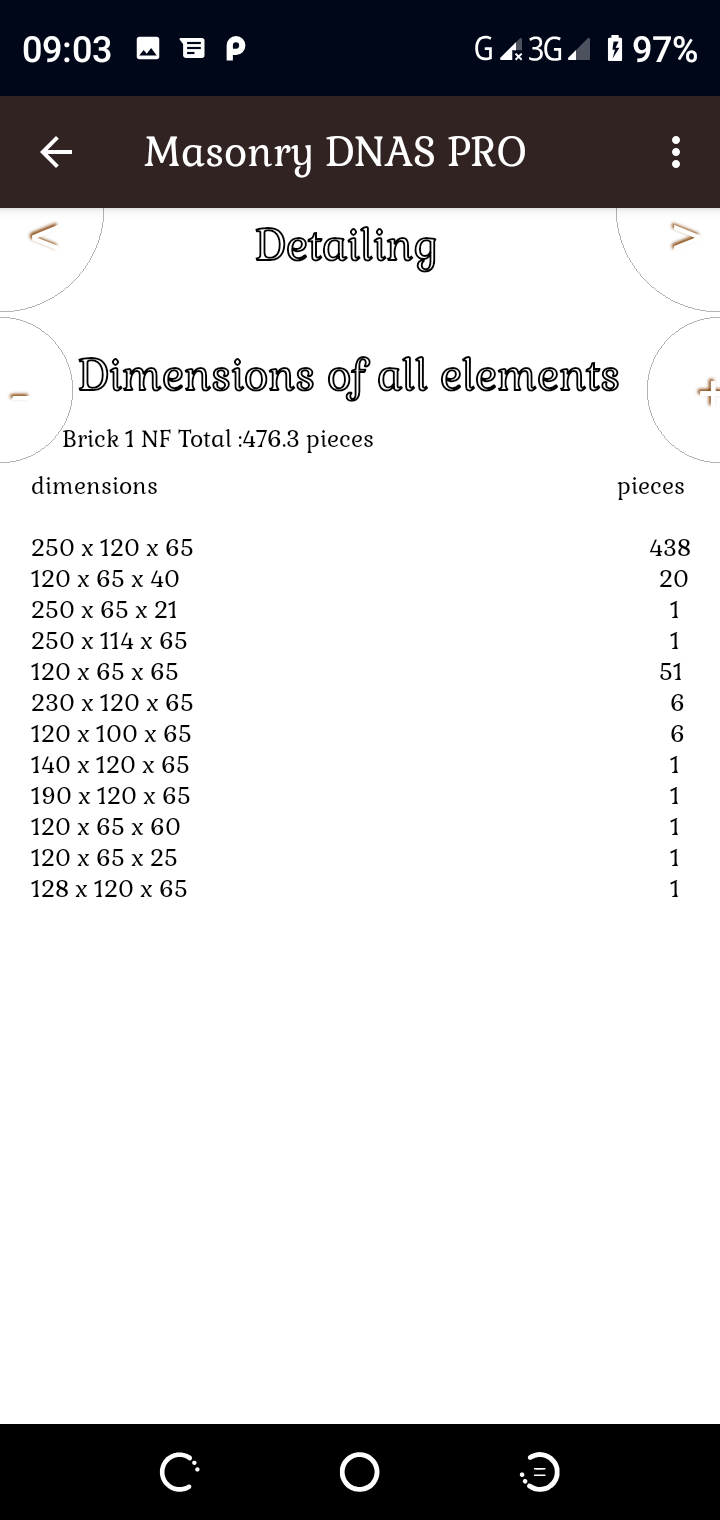
Pages "Masonry elements", as much as there are a variety of brands of masonry materials in the project.
The information about the size of each masonry element of this brand is collected on the page, which allows pre-cutting.
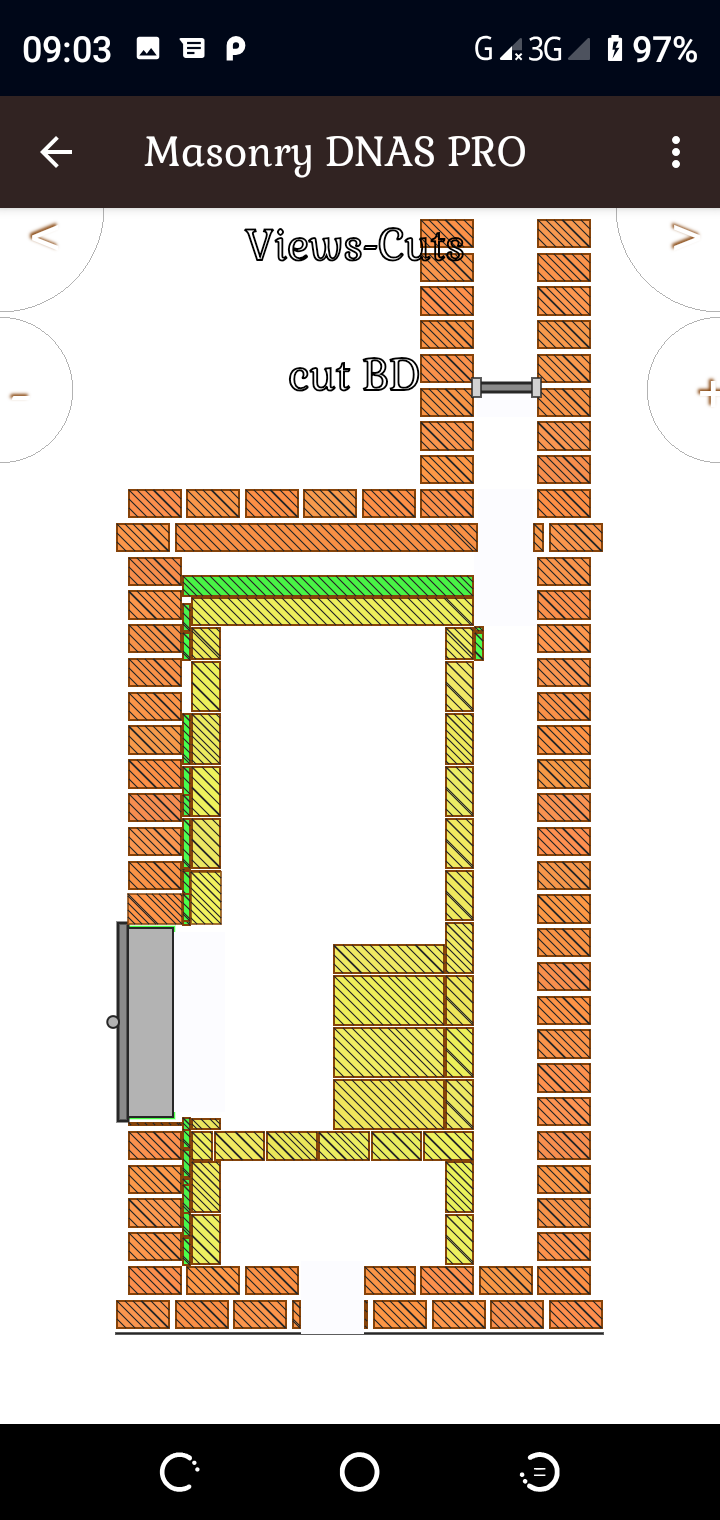
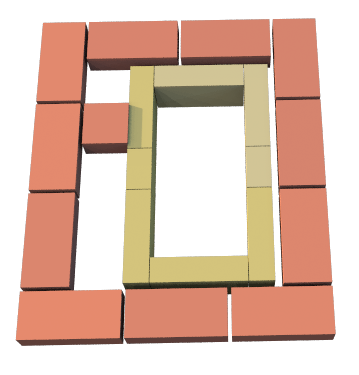
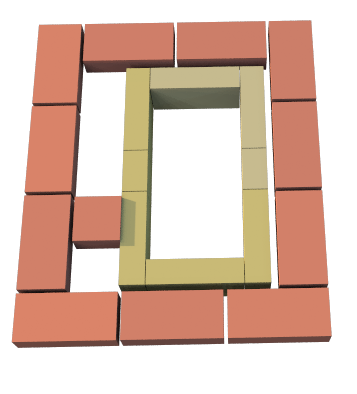
In the chapter "Views-Cuts" there are four pages with views and four pages with cuts.
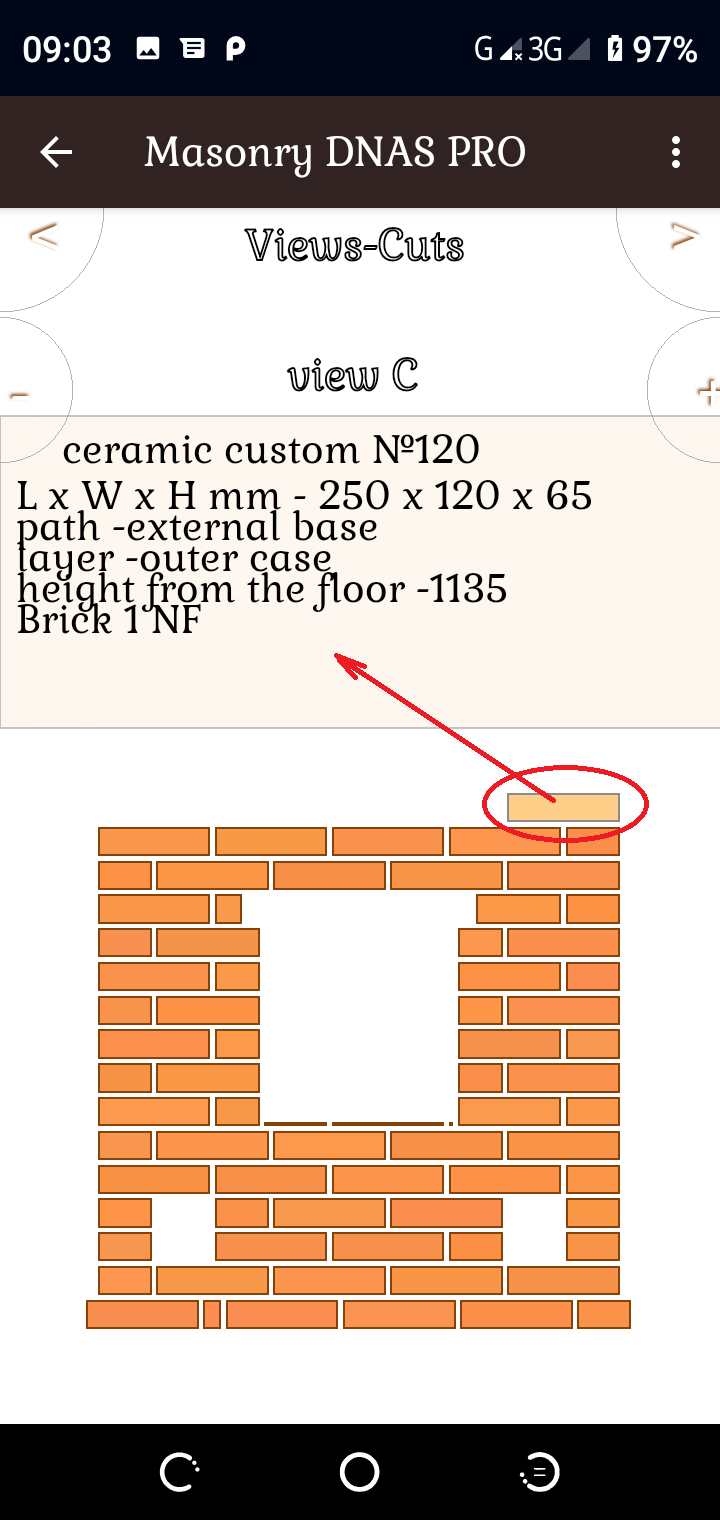
All views and cuts are interactive and when clicking on a masonry element, it displays complete information about this item.
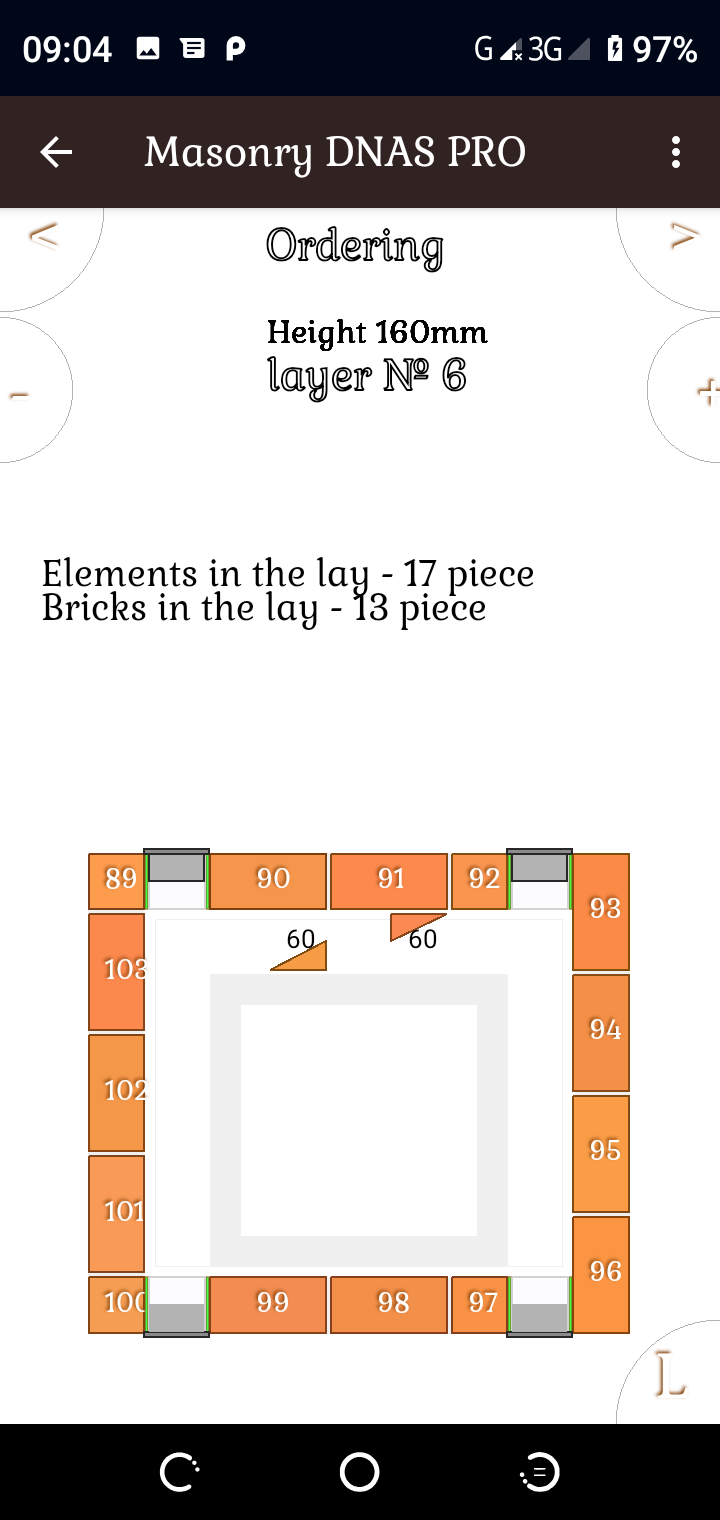
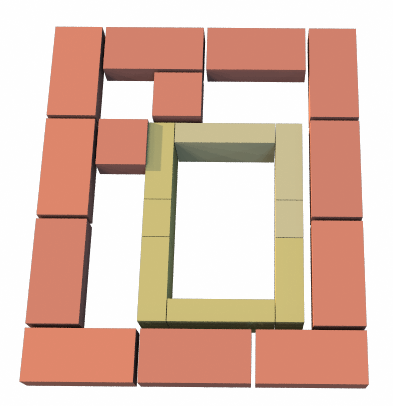
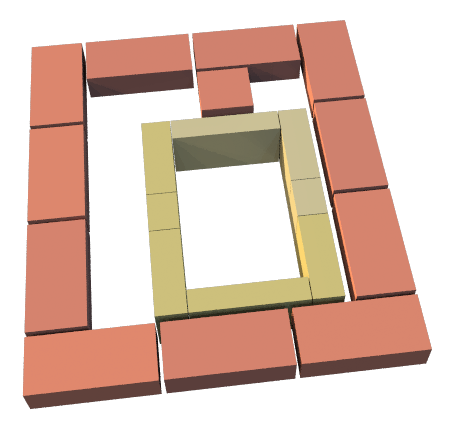
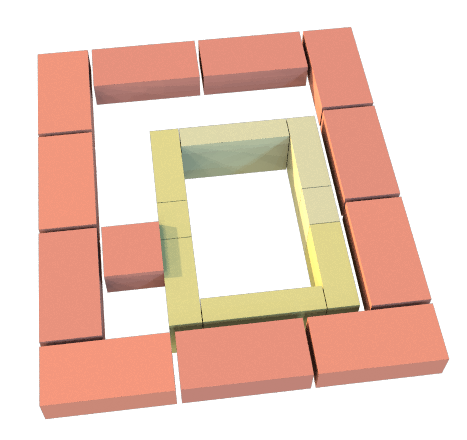
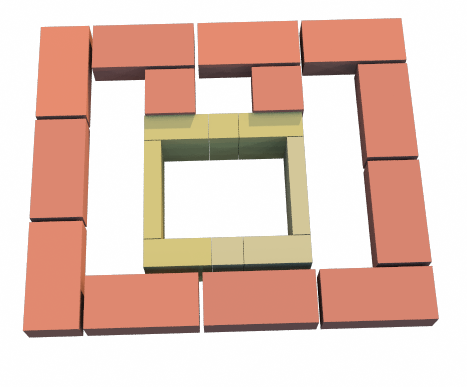
The chapter " layers " gives the information about the layers, a number of nearby, ranging from the foundation.
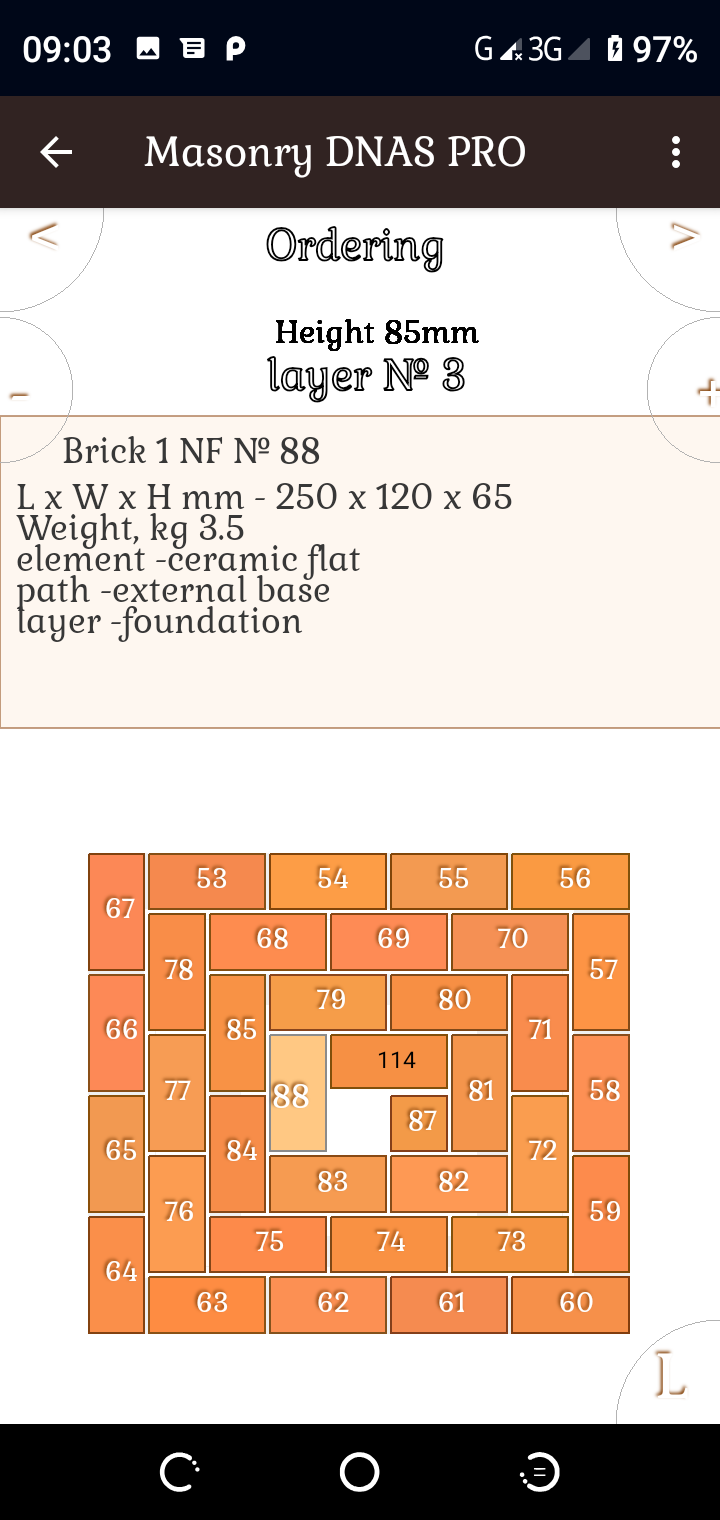
This chapter has so many pages as there are different layers in the design.
Each layer is on its page.
The layers are arranged in order corresponding to the height of this layer.
All elements of masonry are interactive and when clicking on a masonry element, it displays complete information about this element.
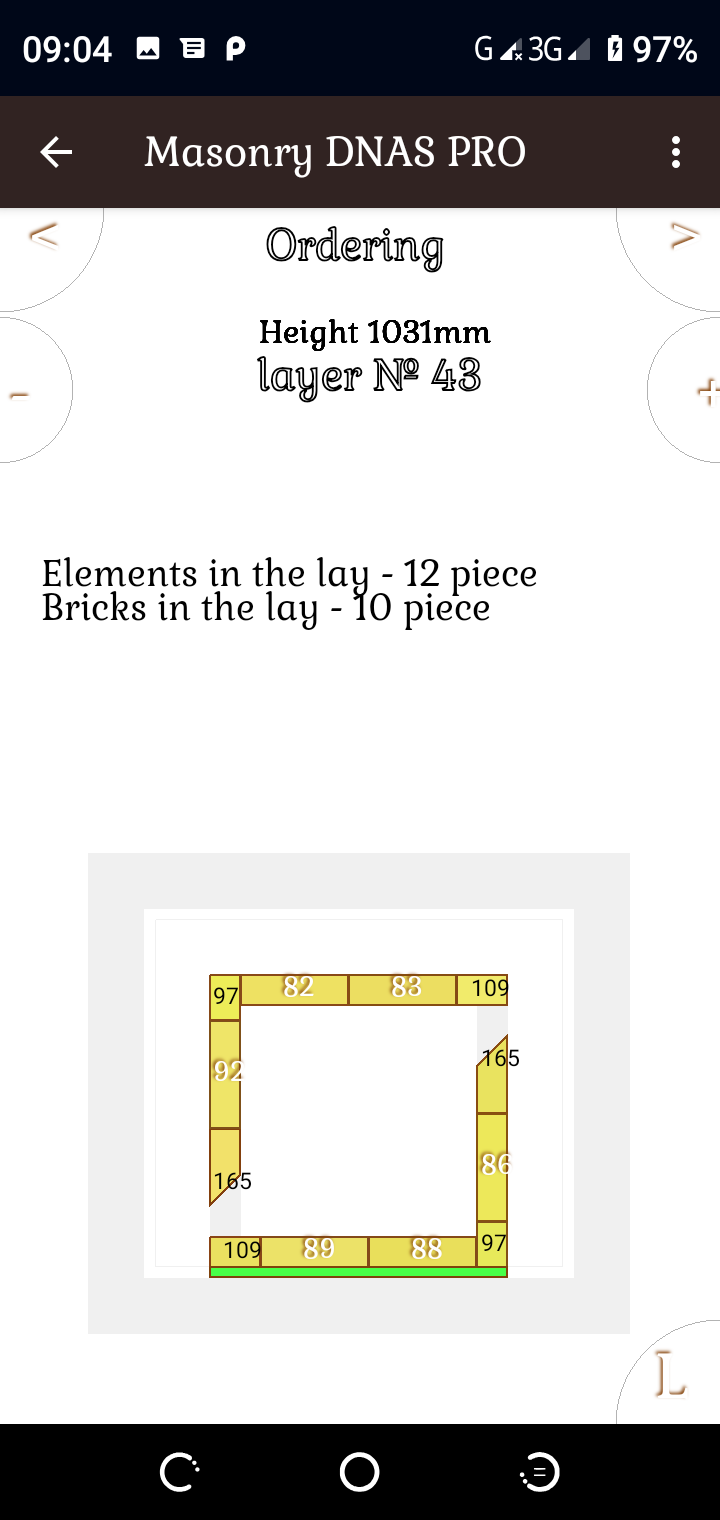
In the lower right corner, there is a "L" button.
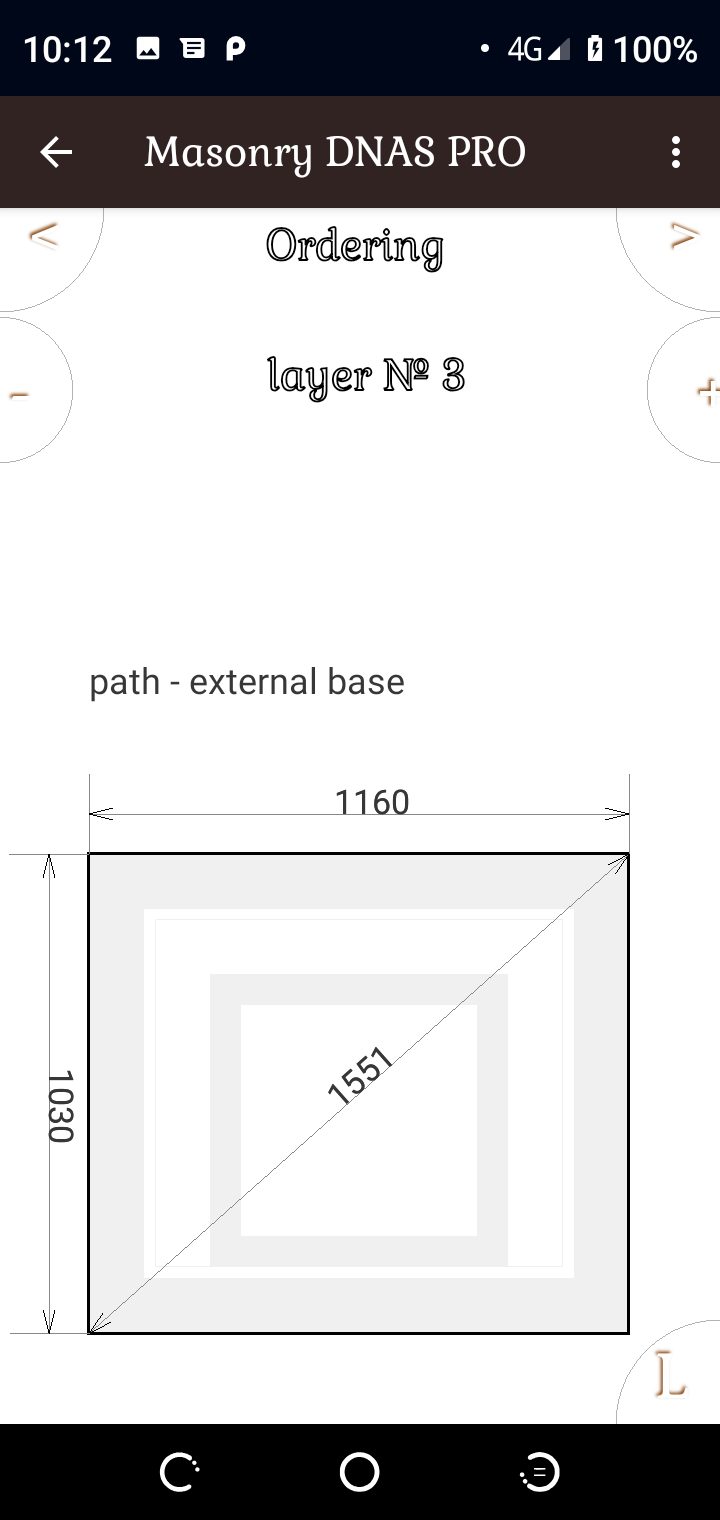
Pressing it will give full information in size and geometry contour of the current contour.
The bricks of different brands, thermal insulators, doors, valves, cleaning, grinding, metal mills are taken into account here. A separate section of the "Masonry-Pro" program is represented by the arches, the portals of the fireplace and the calculation of the room heat-losers.
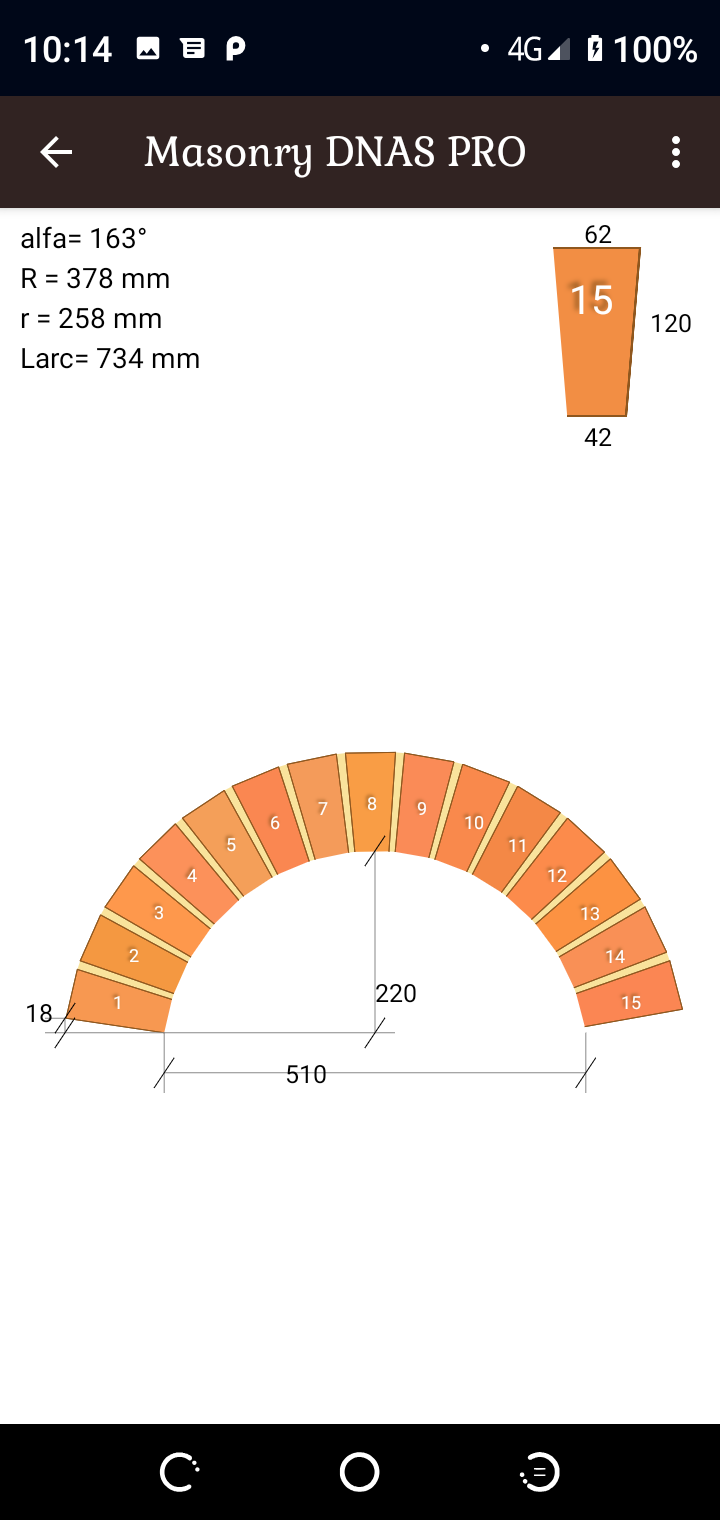
Management of calculations here occurs by one button, intuitively understandable and does not need comments
 |
L_T0 |
|---|---|
 |
L_T3 |
 |
LU_T0 |
 |
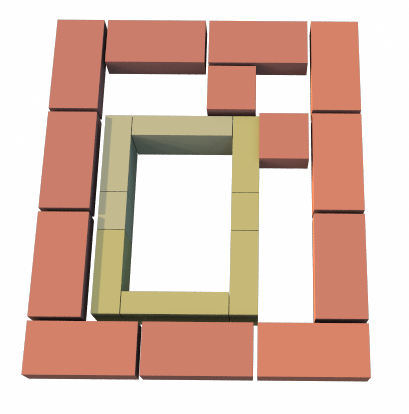
LU_T1 |
 |
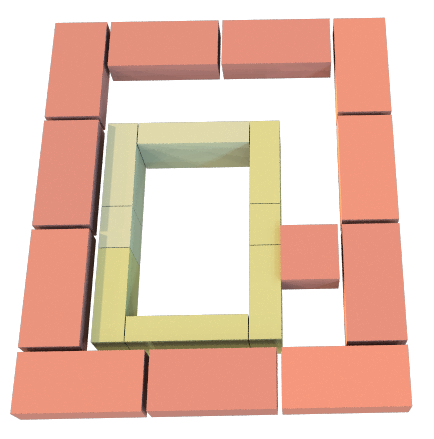
LU_T3 |
 |
LUR_T00 |
 |
R_T1 |
 |
R_T2 |
 |
L_T3 |
 |
L_T3 |
 |
UR_T0 |
 |
UR_T1 |
 |
UR_T2 |
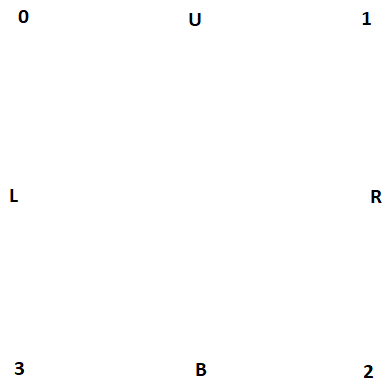 |
Markup Разметка |
все материалы сайта являются авторскими, при перепечатке ссылка
на первоисточник http://stoveweb.com/ обязательна . С ув. Андрей Захарченко
 +79210187073 ,
 berejki@gmail.com
навигация поиском
+79210187073 , berejki@gmail.com